In this post we will discuss how to deploy a .wsp file using browser, PowerShell and STSADM command. This will be very much helpful when you will deploy your webpart to production server.
Also you can check out:
A solution package is a distribution package that delivers your custom SharePoint Server 2010 development work to the Web servers or the application servers in your server farm. Use solutions to package and deploy custom Features, site definitions, templates, layout pages, Web Parts, cascading style sheets, and assemblies.
In SharePoint 2010 it is easy to create a .wsp file using visual studio 2010, which was previously very difficult in MOSS 2007. To deploy any solution package in any local environment in Visual Studio 2010 simply right click on the project and deploy. But to deploy the same thing in the production server we will need to deploy through .wsp file.
Steps to generate the wsp file:
Right click on the project/solution in Visual Studio 2010 then choose package. If you are building the project/solution in debug mode then you will get the .wsp file inside the Bin\Debug folder and if you are building the project in release mode then you will get the .wsp file inside the Bin\Release folder. This wsp file is needed to deploy in the production environment.
This is the best way to create the wsp file in visual studio 2010.
There are different ways you can deploy the .wsp file
--> Also you can check out:
- - Deploy SharePoint 2010 solution(.wsp) package using Powershell
- - Backup of Site collection in SharePoint 2010
- - Enable Sign in as Different User Option in SharePoint 2013
A solution package is a distribution package that delivers your custom SharePoint Server 2010 development work to the Web servers or the application servers in your server farm. Use solutions to package and deploy custom Features, site definitions, templates, layout pages, Web Parts, cascading style sheets, and assemblies.
In SharePoint 2010 it is easy to create a .wsp file using visual studio 2010, which was previously very difficult in MOSS 2007. To deploy any solution package in any local environment in Visual Studio 2010 simply right click on the project and deploy. But to deploy the same thing in the production server we will need to deploy through .wsp file.
Steps to generate the wsp file:
Right click on the project/solution in Visual Studio 2010 then choose package. If you are building the project/solution in debug mode then you will get the .wsp file inside the Bin\Debug folder and if you are building the project in release mode then you will get the .wsp file inside the Bin\Release folder. This wsp file is needed to deploy in the production environment.
This is the best way to create the wsp file in visual studio 2010.
There are different ways you can deploy the .wsp file
Using browser:
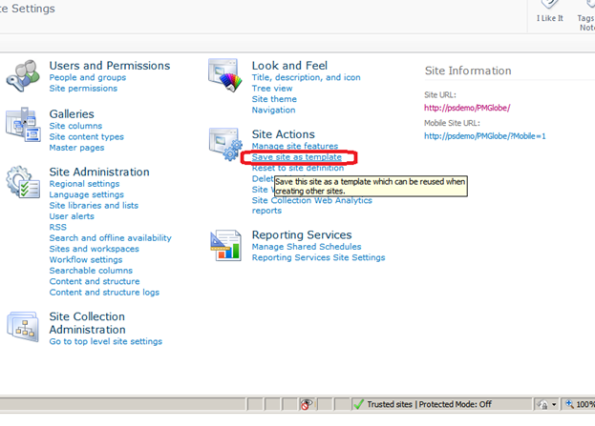
Go to the Central Administration -> Site Actions ->Site Settings -> Galleries –> click on Solutions. After this the below page will open as shown in the figure.
Click on Upload solution and then browse to the wsp file as shown below in the figure.
Once you will click Ok then activation window will appear like below figure.
Then you can use the solution.
Using PowerShell:
Open the SharePoint 2010 Management Shell. You can get to this by going to Start > All Programs > Microsoft SharePoint 2010 Products > SharePoint 2010 Management Shell.
To add a solution using PowerShell:
Add-SPSolution {path of wsp file}
Example:
Add-SPSolution C:\MyTest.wsp
To deploy the solution using power shell
Install-SPSolution –Identity {path of wsp file}.wsp –WebApplication http://URL -GACDeployment
Example:
Install-SPSolution –Identity MyTest.wsp –WebApplication http://URL -GACDeployment
To update solution
Update-SPSolution –Identity {path of wsp file}.wsp –LiteralPath {local path of wsp file}wsp –GACDeployment
To uninstall solution
Uninstall-SPSolution –Identity {path of wsp file}.wsp –WebApplication http://
Example:
Uninstall-SPSolution –Identity MyTest.wsp –WebApplication http://URL
Remove solution
Remove-SPSolution –Identity {path of wsp file}.wsp
Example:
Remove-SPSolution –Identity MyTest.wsp
Using Stsadm:
Add the solution
stsadm -o addsolution -filename {path of wsp file}
Example:
stsadm -o addsolution -filename C:\MyTest.wsp
Deploy the solution
stsadm -o deploysolution -name {path of wsp file} -url {URL}
Example:
stsadm -o deploysolution -name MyTest.wsp -url http://URL
Retract solution:
stsadm.exe -o retractsolution -name {path of wsp file}.wsp –URL
Example:
stsadm.exe -o retractsolution -name MyTest.wsp.wsp –URL http://URL
Delete Solution
stsadm.exe -o deletesolution -name {path of wsp file}.wsp
Example:
stsadm.exe -o deletesolution -name MyTest.wsp.wsp


 Or if you closed it, you can click the Workflows link in the Navigation menu.


