
InfoPath Designer is a software application that enables you to create forms without writing any code. InfoPath Designer is part of the SharePoint 2010 install.
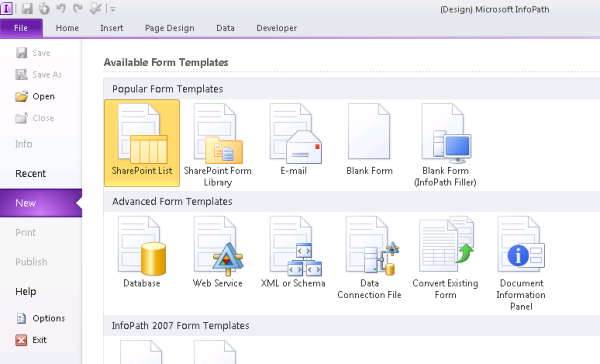 Figure 1 InfoPath Designer 2010
A form that is created in InfoPath Designer can be filled by a standalone application called InfoPath Filler. InfoPath Filler needs to be installed on each individual client that needs to fill the form.
The other option is a form that can be filled using a web browser. The web browser option requires InfoPath forms services (SharePoint 2010 Enterprise license).
InfoPath Form Templates
A form template defines the data structure, appearance, and behavior for the form fields. The final template is a file with xsn extension. There are many different available templates in InfoPath. They differ in how the form is filled and where the form data will be stored.
SharePoint List
- Used to customize an existing SharePoint list form or create a new one
- Users interact with the SharePoint list form the same way they interact with SharePoint lists created in SharePoint Designer
- Requires InfoPath forms services running on the Server
SharePoint Form Library
- The form is stored in SharePoint forms library
- The filler needs to be installed on each individual client if InfoPath forms services is not enabled
- Users will fill out and submit the form in Outlook
- Users need to have the same version of Outlook and InfoPath
Database
- Used to auto create a form based on a database table
- Form is published to SharePoint or a network location
- The filler needs to be installed on each individual client if InfoPath forms services is not enabled
Web service
- Used to auto create a form based on a web service
- Form is published to SharePoint or a network location
- The filler needs to be installed on each individual client if InfoPath forms services is not enabled
For more details about the form templates check out http://office.microsoft.com/en-us/infopath-help/overview-of-form-templates-and-modes-HA101732794.aspx.
In this blog we will review creating a SharePoint form using InfoPath SharePoint List form template.
SharePoint List Form Template
First launch InfoPath Designer 2010 and select the SharePoint List button and click Design Form on the right.
In the Data Connection Wizard dialog, enter the SharePoint site URL in the box and click the Next button.
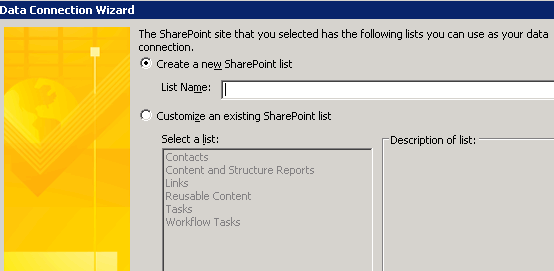
Figure 2 Data Connection Wizard
Enter the name of the list in this case Album and click the Next button. You can also customize an existing SharePoint list by picking one of the custom lists from the list.
Finally click the Finish button. You can enable the Manage multiple list items to enter multiple items on the same form. This option is useful especially if the same user needs to enter multiple items.
At this point, InfoPath creates the default form. The list for the form is also published in SharePoint.
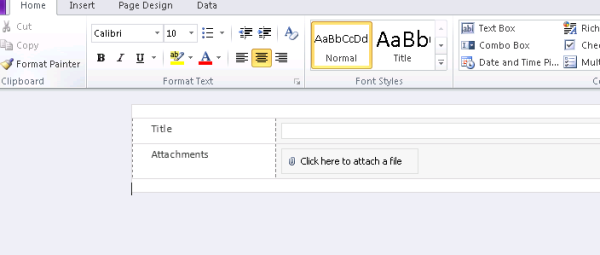
Figure 3 Default InfoPath Form
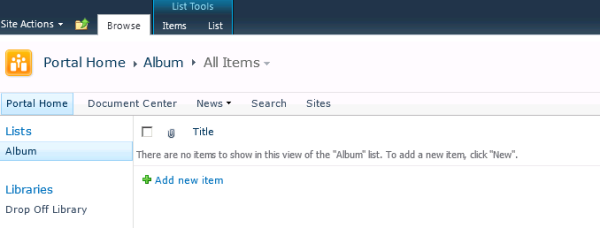
Figure 4 Default SharePoint List
We will add two additional fields called Author and Release Date by clicking on Add Field link at the bottom of the Fields pane on the right of the InfoPath form.
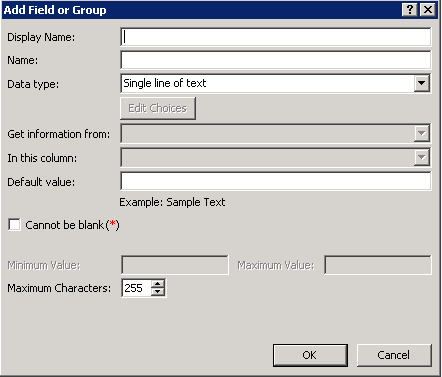
Apparently Author is a field for the creator of the form and we can’t use it. We will use Artist. For the Release Date we will use Date data type. In addition, we will make the field required by enabling cannot be blankcheckbox.
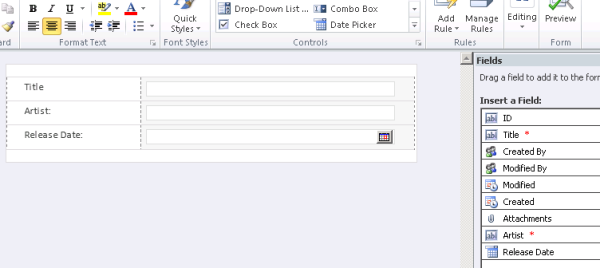
Now that the fields are setup, we can add them to the form by dragging and dropping them into the form. Since we don’t need attachment, we will remove it from the form. Editing the form is like editing a word document. You can add instructions or images to the form layout. We will keep it simple and below is what the final form looks like.
InfoPath Form Rules
InfoPath supports rules that trigger actions when a condition is satisfied. In our case, we will add a rule that the release date be in the past. Select the Release Date field then click on Add Rules from the ribbon.
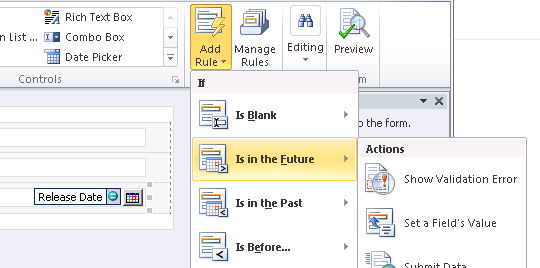
Figure 5 Setting up Rules
Click Show Validation Error from the list of Actions. This will generate a screen tip automatically for the validation that you can update. At this point you can save the template.
Publishing an InfoPath Form
For the changes to reflect in SharePoint list form, we need to publish the InfoPath form to SharePoint. To do that, go to the File tab and click Quick Publish.
At this point the Album list is updated to have the additional fields. You can work with the Album list form to manage your albums.
You can always open the saved template in InfoPath, make changes to the form and re-publish your changes. You can also open the template in the Filler fill in the field values and click the Submit button on the ribbon to add records to the SharePoint list.
Creating an InfoPath Sub Forms
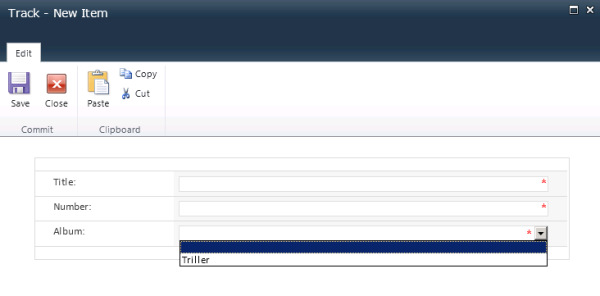
Creating Sub forms in InfoPath that save to multiple lists is not possible. What is possible is associating one form with another. Using the steps above, I created a Track list. I then configured the Album as a lookup to the Album list. We can only pick one field to identify the Album. In our case, we used the Title as the display field.
For the Album form, I setup Tracks to be a multiple selection list box to the Track list. And here is how the add form looks like.

Unlike SharePoint Designer, InfoPath gives greater flexibility in formatting the layout of a form. There are built-in validations and rules to customize the form behavior.
In this blog we have seen how to setup an InfoPath form, configuring rules, and publishing the form to SharePoint. We have also looked at creating parent/child relationships among forms.
No comments:
Post a Comment