
Why we need to Register our application in Azure?
- To integrate your dynamics CRM with any other application using Dynamics CRM web API.
- To get the Client Id and Secret Key for any application which we used in these integrations.
You also need to have the access of Azure Active directory.
Steps to register the new application in Azure AD
Follow the below-listed steps to register the application.
Steps to register the Application.
Step 1
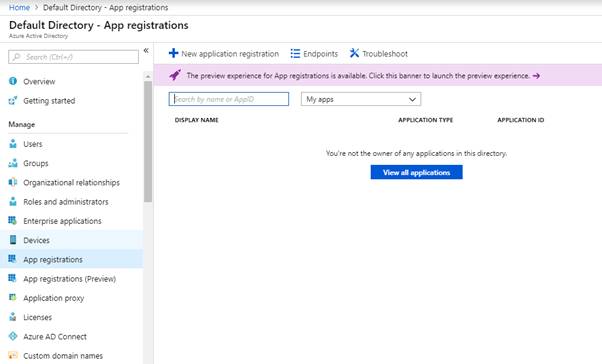
Go to the Azure portal URL and select the Azure Active Directory on the Left-hand side Navigation home page.

Step 2
Step 3

Step 4
| Input Name | Description | Example |
| Name | Provide the name for your Application. | MyFirstWebAPI |
| Supported account types | You can select as per your requirement | I selected for my current organization directory only |
| Sign in URL | Login URL | http://localhost:64884/ |

Once the Apps get created, you will be redirected to the home page of your newly build API.
Keep a copy of the Application ID,Object ID and tenant ID.

Step 5

Now, click on + Add a permission, then choose the Dynamics CRM from the grid view.

Now you can select the type of API for which you are registering this APP, I selected Dynamics CRM here.

After selecting the Dynamcis CRM, I need to provide the type of Access, I provided;
1. Delegated Permission
2. user_impersonation

After providing all the values, you can click on Add Permission Button and then your final Add permission screen should appear like this:

Step 6
WE will now click on Certificates & secrets Option on the Left hand side navigation
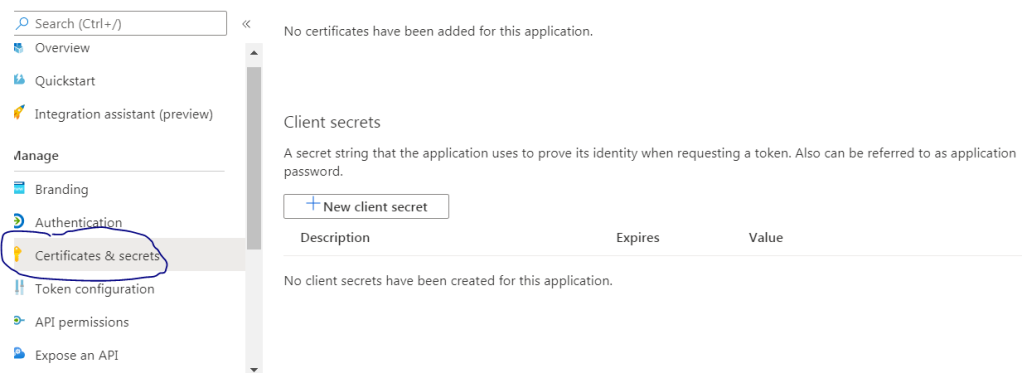
You can click on the +New client secret button and you will be asked to add the description and the timeline or the expiry for this secret key. After that you click on the create button and it will generate the random key for you.

That’s all the basic configuration you need to perform here on the Azure. No you can collect all the data you need from the azure app such as Client ID(Application ID), Tenant ID, Object ID, Enpoints O Auth and Secret Key.
Step 7:
Now we need to collect the Endpoints value from the App we registered, you need to go to your WEB-API overview page there you will Endpoints button on top. you can click on that and can store the OAuth 2.0 authorization endpoints (v2). Copy and store both authorize and token link.


Create Application User in Dynamics to access the Web-API
log into your Dynamics 365 CRM environment and open the User entity in there and select the Application Users from the View.

Click on the new button to create a new application user provide the User Name and copy the Application ID of the web-Api which we copied earlier to the application ID in user form . Once you add the Application ID, the other two fields will get auto-populated. You can save the User form now.
After creating the user in CRM , you need to provide the security role to the User as per your access need.
Whatever access the application user have in CRM, those operation can only be done using the Web-API so be sure on your requirement.

Once everything is done you can all these to start building your web-Api.
No comments:
Post a Comment