
we will create a new Custom Workflow Activity, or Workflow Extension, which allow us to call custom code from workflows in Dynamics 365 and PowerApps.
First, let’s look at how these are used.
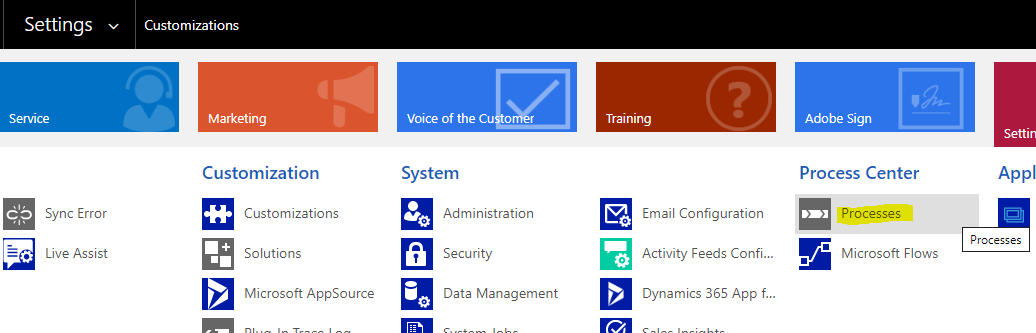
Log into your org and go to Settings->Processes:
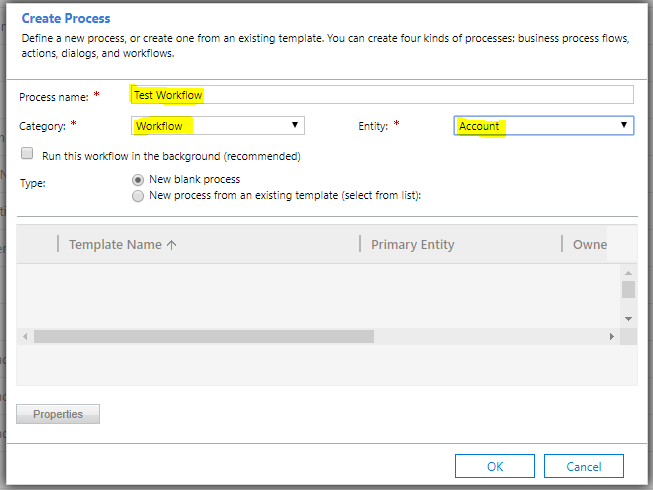
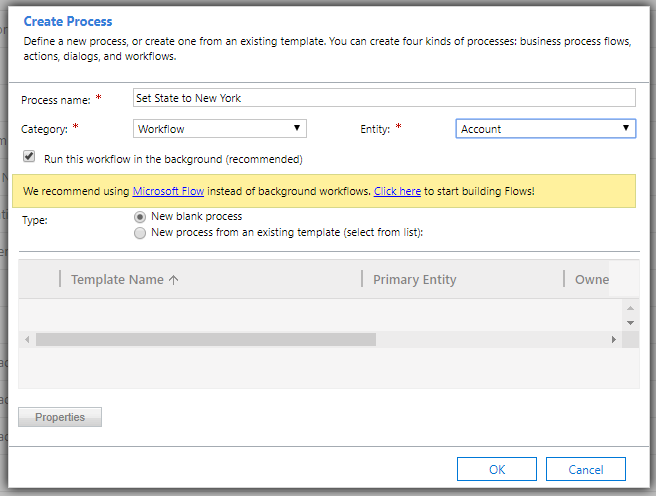
Let’s create a new workflow with the following. Set name = Test Workflow, Category = Workflow and Entity = Account, then click OK:
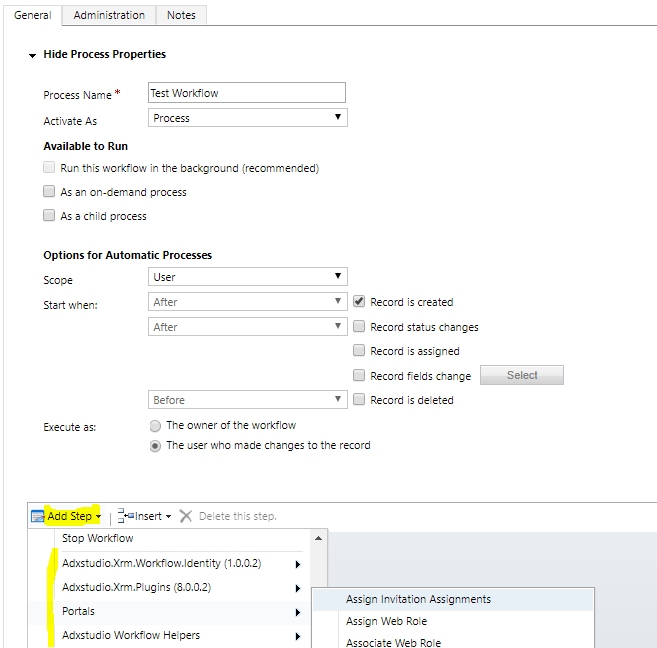
Under Add Step, in my system there are several steps that are “custom”, i.e. not out of the box that can be added to workflows. These are custom workflow activities, and are useful for running code in a workflow where an out of the box step is not available:
Let’s go through building one of these.
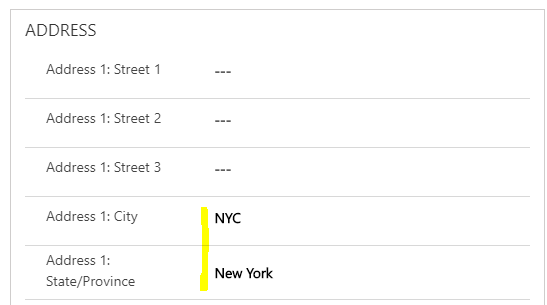
Let’s write a custom workflow activiti that, when the address city of an account is NYC, we will set the state to New York.
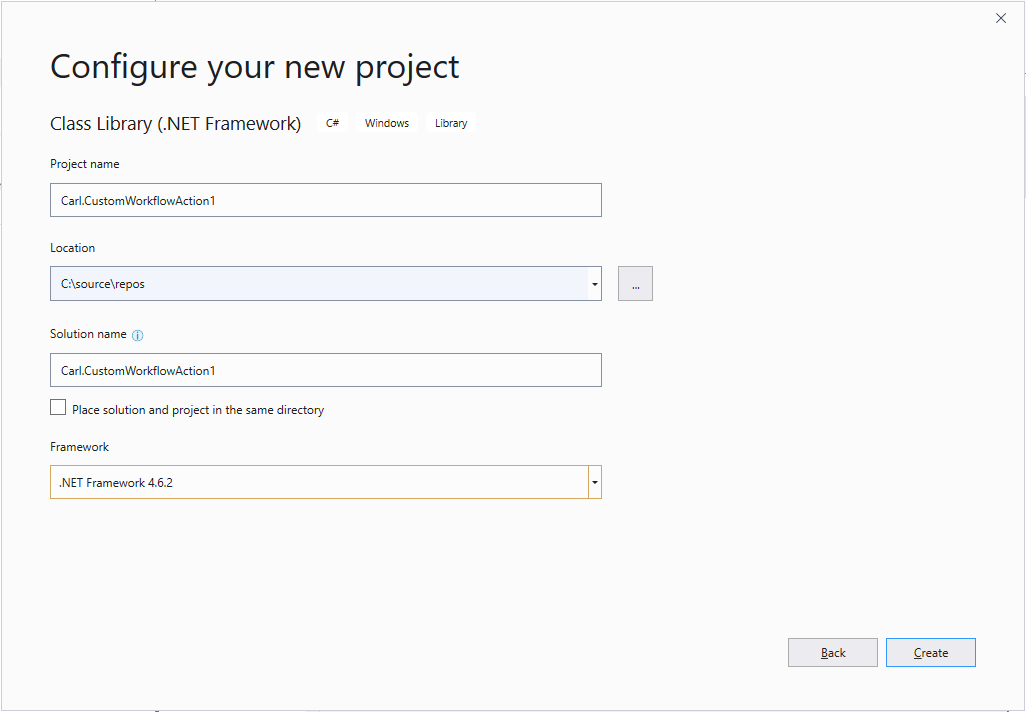
Open Visual Studio and create a new Class Library:

Set the .NET Framework to 4.6.2 and click Create:
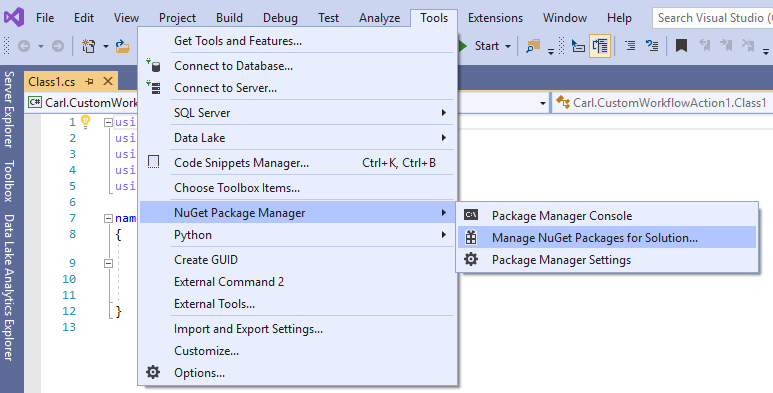
Next, go to NuGet Package Manager:
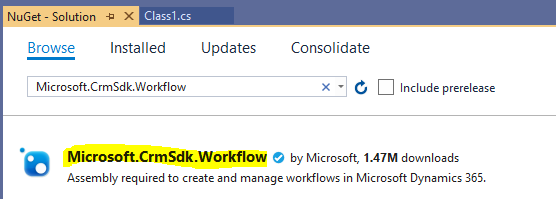
And install Microsoft.CrmSdk.Workflow:
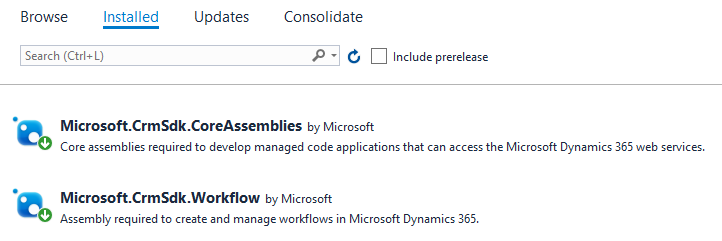
Under Installed, you should now see below:
Now let’s write some code.
Take Class1.cs and rename it to SetStateToNY.cs:
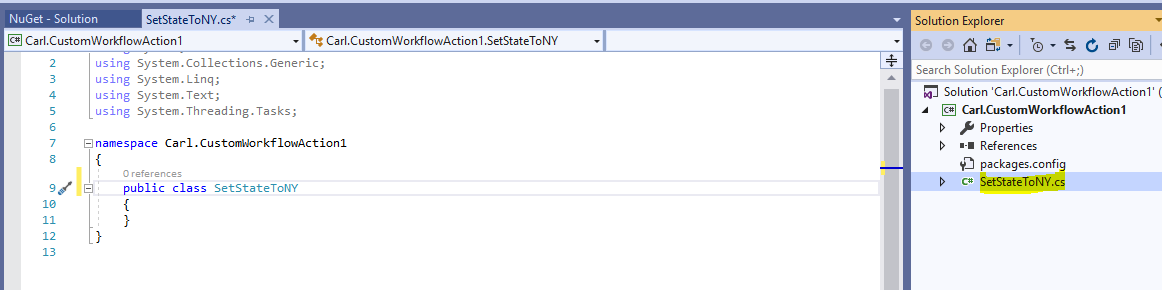
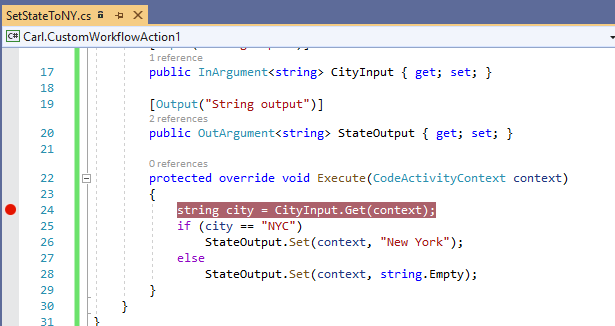
Change the code to below.
Let’s look at the code.
We are defining an input parameter, CityInput, and an output parameter, StateOutput. In our Execute method, we set the output parameter based on some business logic, i.e. if the city is NYC.
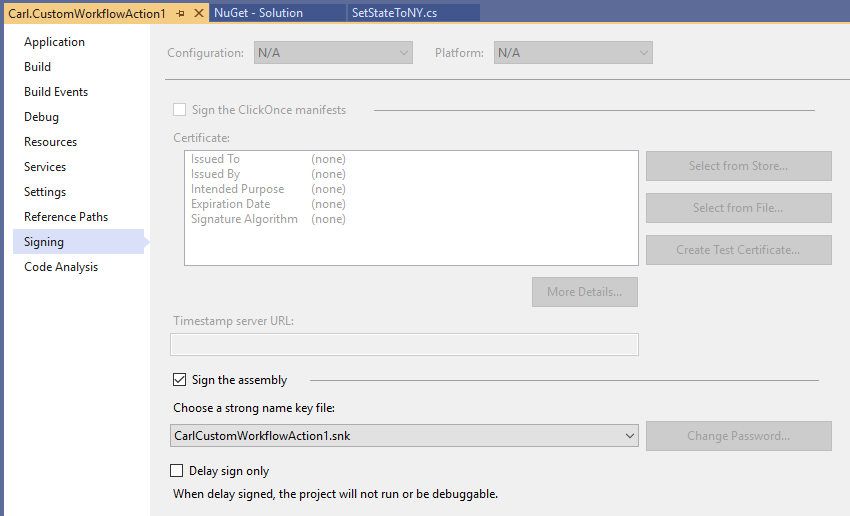
Next, strong name the assembly and build the code:
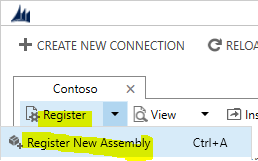
Now let’s deploy it. Open the Plugin Registration Tool (PRT), and select Register->Register New Assembly:

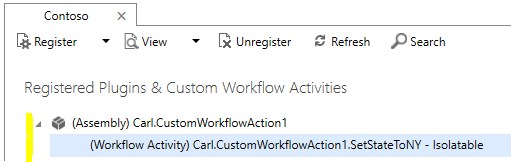
Once registered, you will see the assembly in the list:
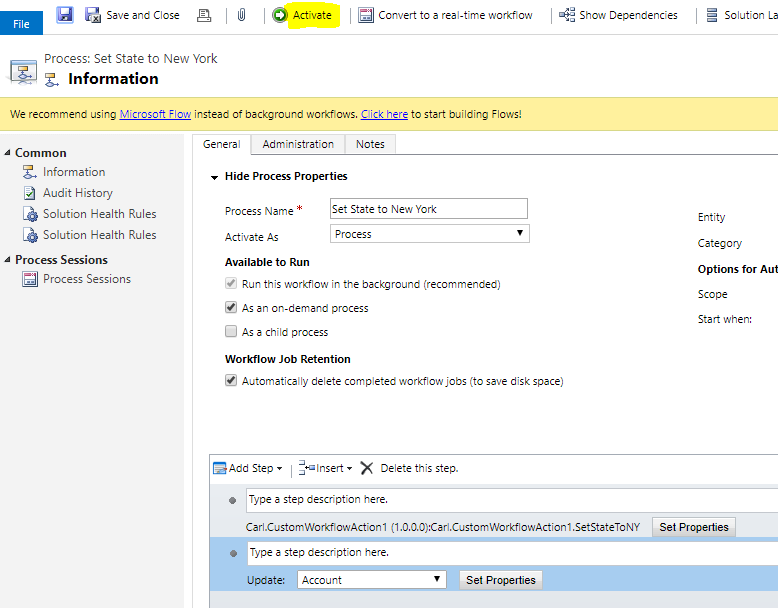
Now let’s go to Dynamics 365 / PowerApps and create a new Workflow called Set State to New York on the Account:
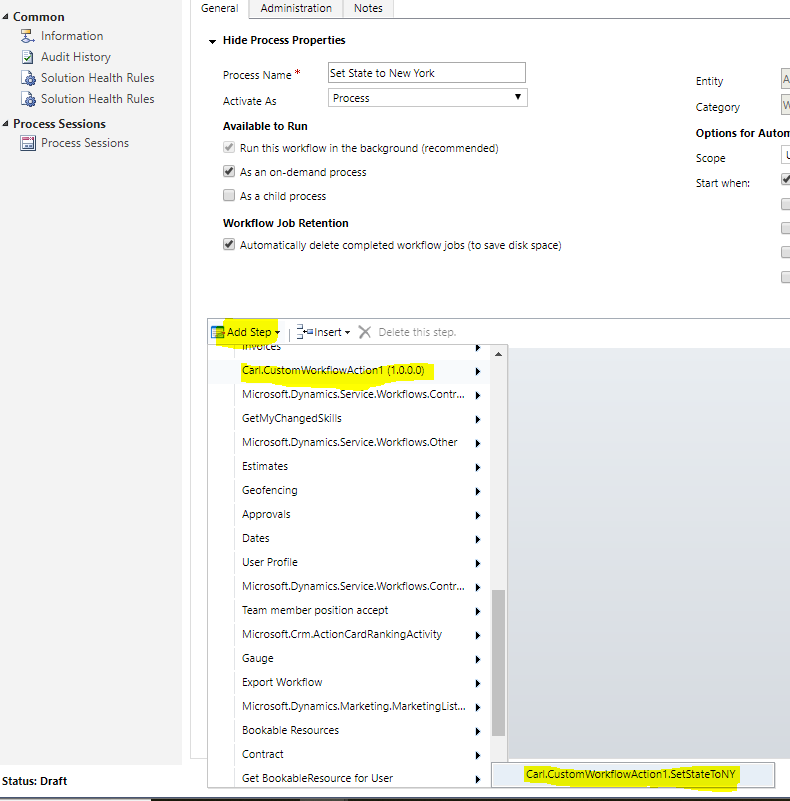
Click Add Step. We see the custom workflow activity called Carl.CustomWorkflowAction1 appearing in the list. When clicking on it, we see the action SetStateToNY appear (at the bottom of the screenshot):
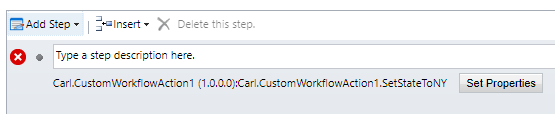
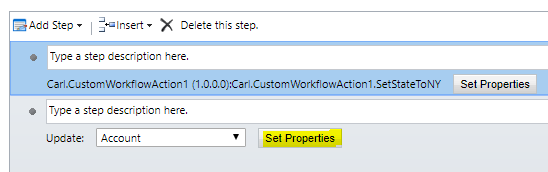
On selecting it, we see below. Click on Set Properties:
This bring up the window below, where we are prompted to set the input value, i.e. our City:
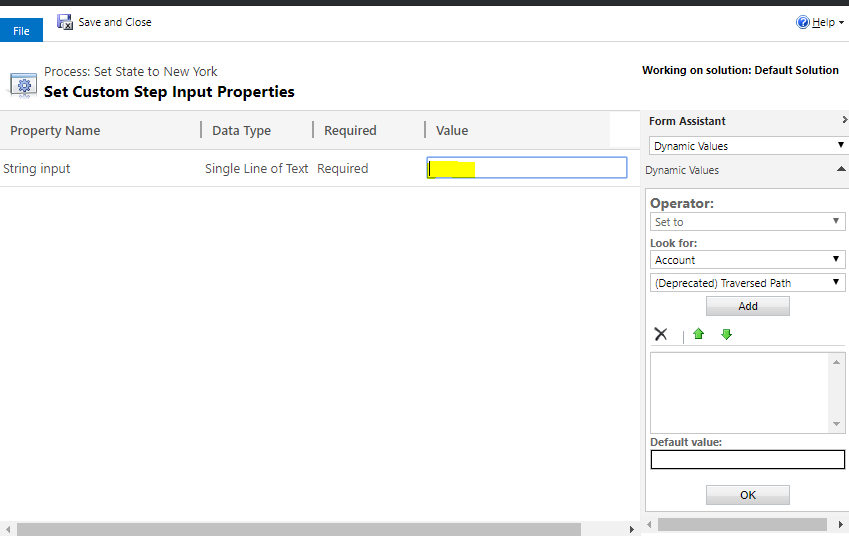
We can set it by selecting the field on the right:

Click Save and Close. At this point, we are basically calling our custom workflow activity, like calling a function, to take a parameter, the Account City, and send back the State:

Now we can do something with this return value.
Let’s add a step to update the record.

Click Set Properties:
On the right, under Look For, we can select the custom workflow activity from the previous step, and select the String Output, then add this to our State field:

That’s it! Save and Activate the Workflow:
Now, go to your PowerApp / Dynamics 365.
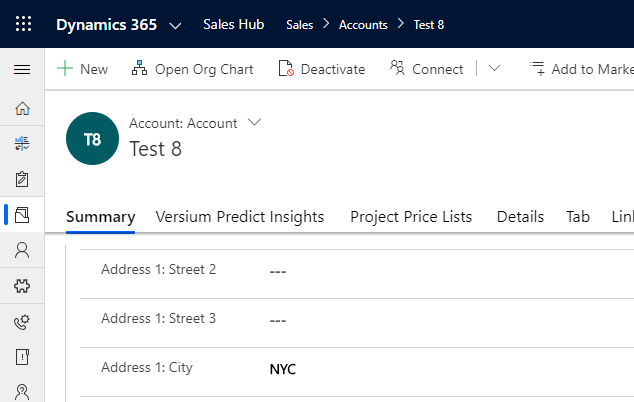
Create a new Account record and click Save:
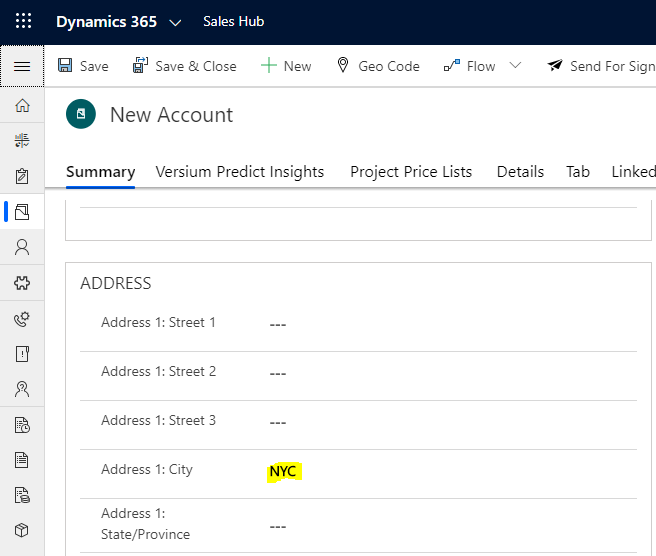
You may have to refresh to see the state populated:

DEBUGGING A CUSTOM WORKFLOW ACTIVITY IN DYNAMICS 365 AND POWERAPPS
Let’s look at how to debug one of these.
Open the Plugin Registration Tool (PRT) and select Install Profiler:
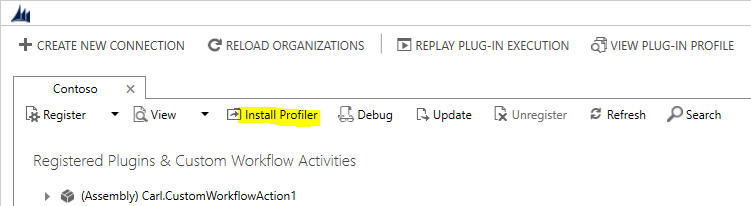
This may take a few minutes. Once installed, you will see the Plugin Profiler at the bottom of the list:
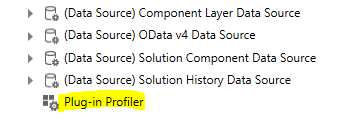
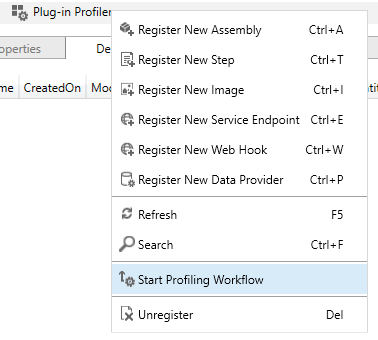
Right-click it and select Start Profiling Workflow:
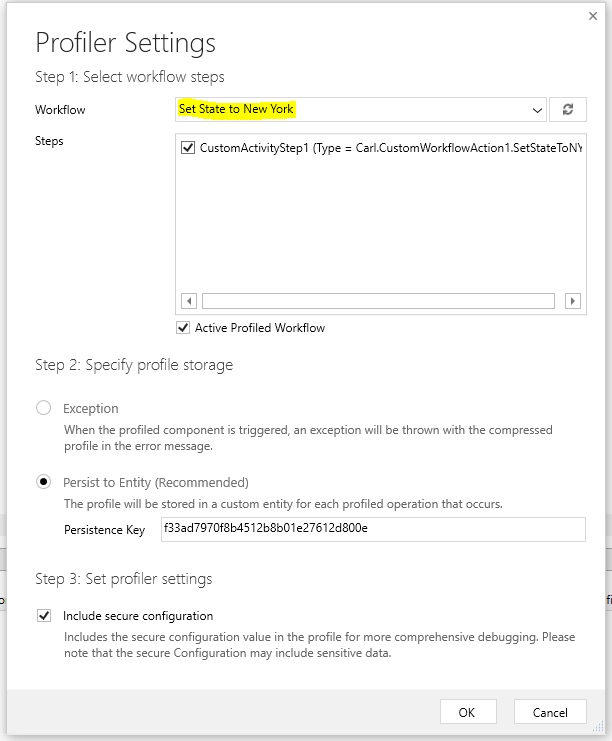
Find your workflow in the list and click OK:
Now perform the action that runs the workflow custom activity. I.e. in our case we have a workflow running on saving the account with the city field populated.
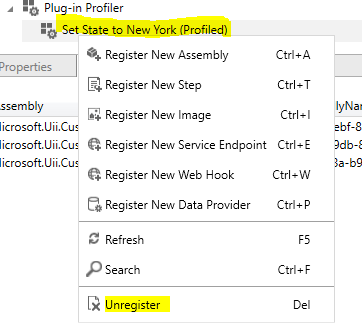
Once complete, expand Plug-in Profiler to find your profile and click Unregister:
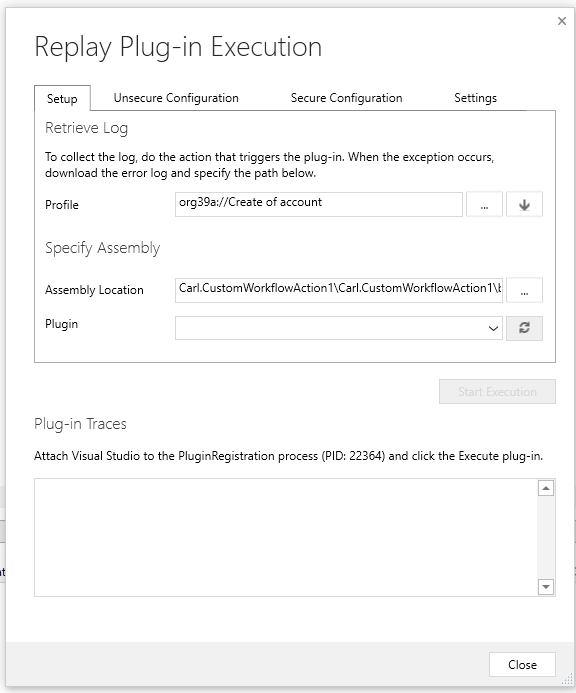
Now from the top, select Replay Plug-in Execution:

Select the
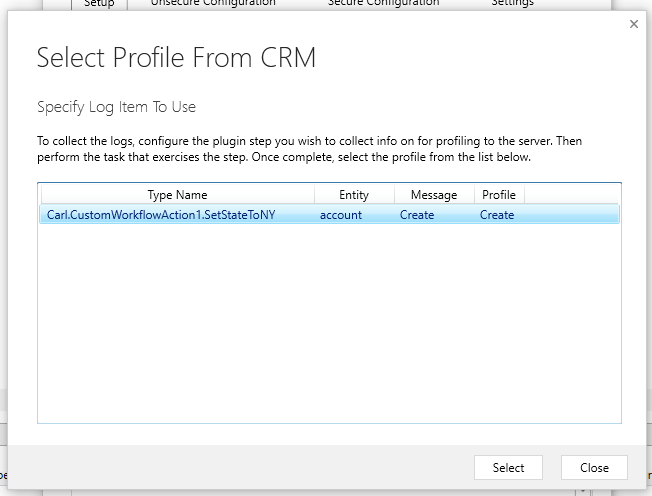
Select the assembly of the custom workflow assembly project
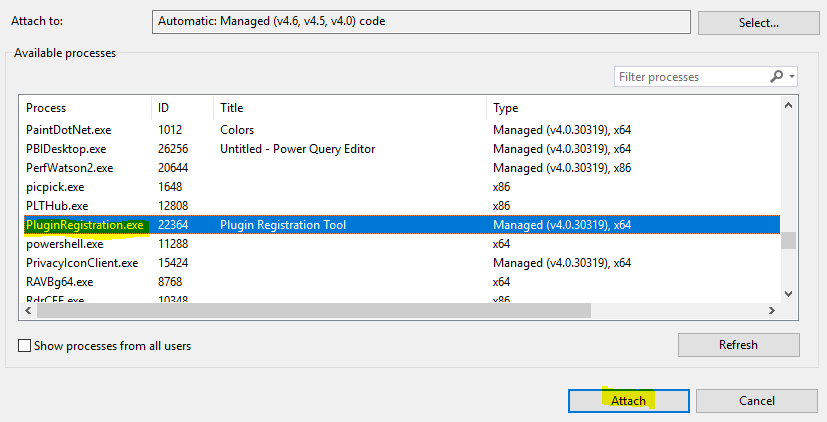
Now, jump over to your Visual Studio project for the custom workflow, select Debug then Attach to Process:
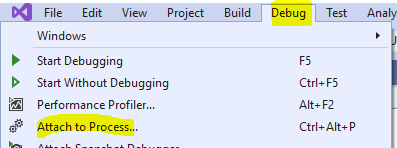
Find the PluginRegistrationTool and click Attach:
Add a breakpoint in the Execute method:
Back in the Plugin Registration Tool, click Start Execution:
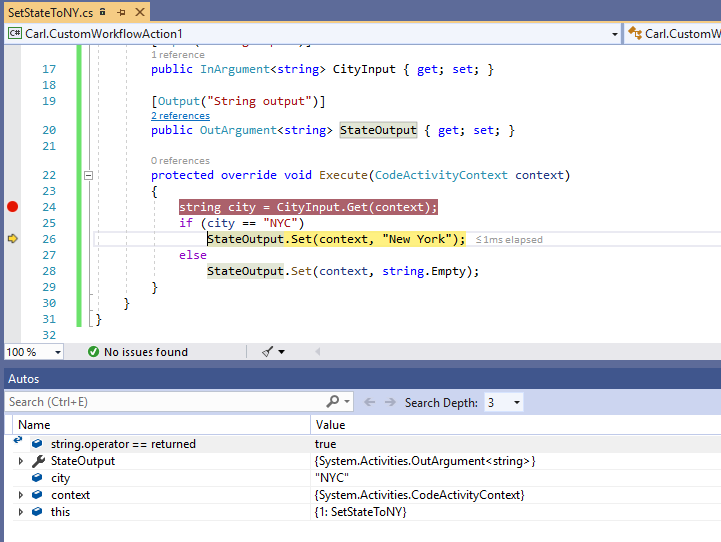
The breakpoint is hit, and you can start debugging:
No comments:
Post a Comment