
Introduction
This article demonstrates how to enable/use the Custom Master Page changes in SharePoint 2010.
Step 1
To Enable Customization
First if we want to work/change the Master Pages in SharePoint 2010, the following features need to enabled:
Navigate to the landing page of your newly created site collection:
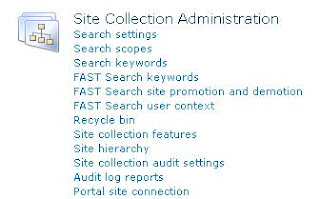
Click on "Site Actions" -> Click on "Site Collection Features" -> Enable "SharePoint Server Publishing Infrastructure"
Step 2

Step 3
We need to do the same thing at the site level also.
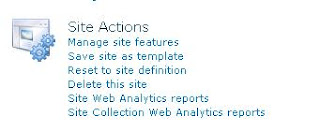
Click on "Site Actions" -> Click on "Manage site features" -> Enable "SharePoint Server Publishing"
Step 4
Enable the feature at the site level:

Step 5
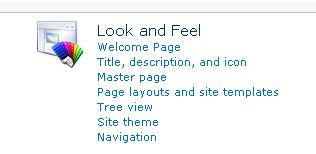
Once we have enabled the features, we are able to see the Master Page option in Look and Feel.
This article demonstrates how to enable/use the Custom Master Page changes in SharePoint 2010.
Step 1
To Enable Customization
First if we want to work/change the Master Pages in SharePoint 2010, the following features need to enabled:
Navigate to the landing page of your newly created site collection:
Click on "Site Actions" -> Click on "Site Collection Features" -> Enable "SharePoint Server Publishing Infrastructure"
Step 2
Step 3
We need to do the same thing at the site level also.
Click on "Site Actions" -> Click on "Manage site features" -> Enable "SharePoint Server Publishing"
Step 4
Enable the feature at the site level:
Step 5
Once we have enabled the features, we are able to see the Master Page option in Look and Feel.
If the Master Page is already enabled, we can skip steps 1 to 4.
Step 6
Start-up we can refer this link for customizing the master page:
https://startermasterpages.codeplex.com/
If we get the following warning then that means the Master page may not be published correctly. We can follow the following solution steps.
Warning: The selected master page has no approved version. This site may appear to be broken to users without the view versions right in the Master Page Gallery.
Steps
- Click Site Actions –> Site Settings –> Modify All Site Settings
- Click Master pages and page layouts
- Click the down arrow next to your .master file
- If Check In is an option, click Check In
- Click OK
- Click the down arrow next to your .master file again
- Click Publish a Major Version
- Click OK
- Click the Down arrow next to your .master file
- Click Approve/reject
- Click the Radial Button next to Approved.
- Click OK.
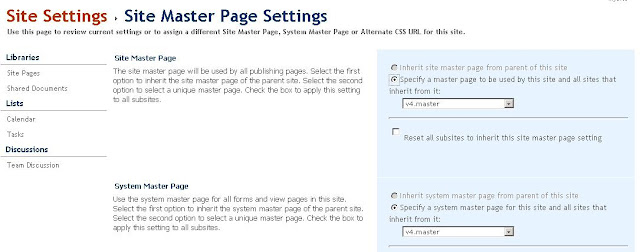
Select your customized and published master page as shown below in the Site Settings page:
The final output of Customized master pages may look like the following pages. It depends on our customization.
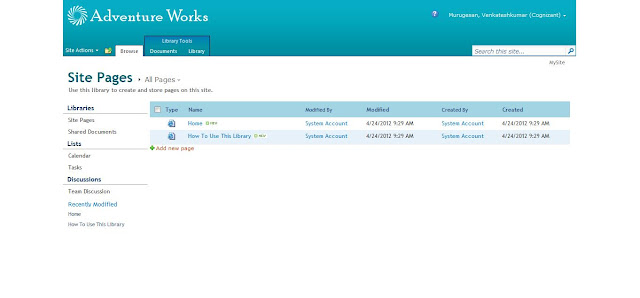
The final output of Customized master pages may look like the following pages. It depends on our customization.
No comments:
Post a Comment