Another tidbit I wanted to share regarding SharePoint Designer 2010 that may be of interest to a lot of developers, site administrators, designers, and power users alike. If you have the permissions, you now have options directly in the interface of SharePoint Designer, to save your web parts out to a local file, or, push it into the Site Gallery!
In SharePoint Designer, let’s add a Data View Web Part to our page, by going to the Insert ribbon tab, selectingData View, and choosing the list which we want to create an XSLT Data View for…
Then configure your web part as you’d like to… and from there in SharePoint Designer 2007, we were stuck with going back to the page which we placed this, using the chevron on the web part in Edit mode on the page, and then choosing Export from the menu. This is no longer with SharePoint Designer 2010!
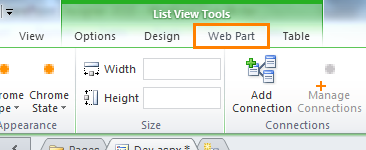
If you look at the ribbon while you are working on the Data View Web Part, click into the Web Part ribbon tab underList View Tools
Once you have done that, if you look all the way over to the right of that ribbon tab, you will see a section called Save Web Part.
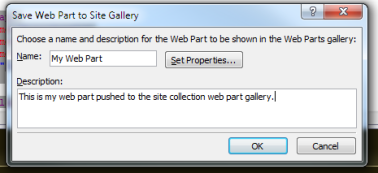
Which presents two options, To Site Gallery, and To File. This is just another one of the many timesavers built into the overhauled SharePoint Designer 2010. If we select To Site Gallery, we are presented with a pop-up that will allow you to set the title and description for your web part
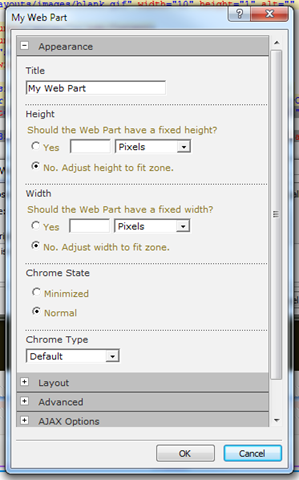
As well as a Set Properties… button, which will allow you to set web part properties on the saved version of the web part before putting it into the gallery.
Once you click OK, you are presented with another pop-up
This asks you if you want to always just show data from the current site list, tied to the List ID GUID, or, if you want to make it relative, which will tie it down to the list name itself, relative to the site in which it is displayed.
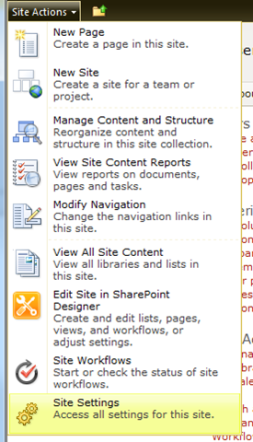
Now, if we meander on over to the web part gallery for this site collection, Site Actions > Site Settings
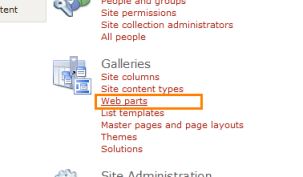
and selecting Web Parts under Galleries
We will now see that our web part which we created in SPD 2010, is now deployed out to the Site Collection Web Part Gallery!
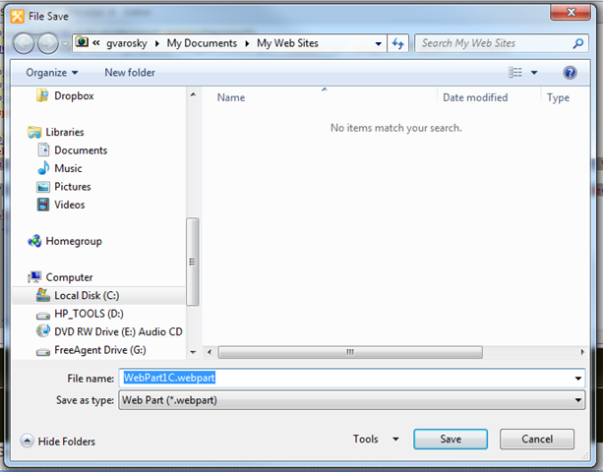
If we choose the alternate option, To File from the Save Web Part section of the ribbon, you will be prompted to save it locally as expected.
There is a lot of new functionality in SharePoint Designer 2010. As I get around to it, I’ll keep more of these posts coming.





No comments:
Post a Comment